A month ago I stenciled an accent wall in my living room. You can read about it in my post ‘Marker Wallpaper.‘ This was probably one of the easiest projects I have ever done. Today I’ve decided to share the steps I took to get this look.
Tools/ Equipment: Sharpie oil-based medium point markers, stencil pattern, level, tape measure
Steps:
- Find the pattern you want for your stencil. I used Jones Design Company’s stencil pattern.
Stencil Pattern - Adjust the stencil according to your needs. To make sure all my sides were perfect I folded the pattern in quarter, traced it on a sheet of paper (that was also folded in four) and then cut the pattern out. It was more accurate than my earlier cut out for the practice wall.
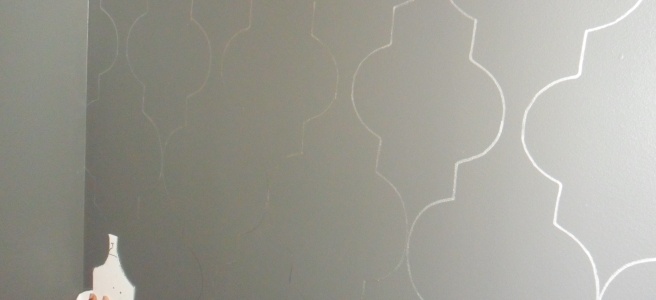
- Before painting the pattern with a permanent marker, I tested the pattern with chalk on about 1/8th of the wall and again with a gold marker on a small wall in the guest room. This was important for me to see if this was something I liked.

Chalk Outline
- Before painting the pattern with a permanent marker, I tested the pattern with chalk on about 1/8th of the wall and again with a gold marker on a small wall in the guest room. This was important for me to see if this was something I liked.
- Start with a clean wall. Ours was freshly painted.
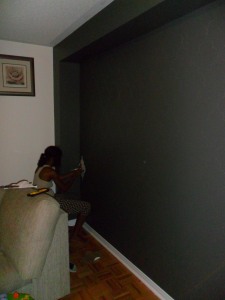
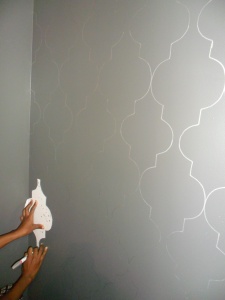
Kendall Charcoal by Benjamin Moore - Find the centre of the wall; I used a tape to measure the width of the wall. Then begin stenciling from the centre and work out towards the corners. I did an entire column in the centre of the wall before branching off to the sides.
- I decided that I wanted my inner pattern a bit smaller than the outer ones. To do this I reduced the size of the stem for the inner patterns. For a consistent size, I made a mark on the stencil to know where the inner pattern’s stem should start. I also marked the stencil showing T (for top) just to make sure I held it in the same position throughout the job.
- I used a level. It made the pattern more accurate.
- I was able to stencil the entire wall with only one marker. I would suggest getting at least two. As with any marker left opened for too long, the colour tends to fade. To remedy this I had to shake the marker periodically as well as close it for a minute at different intervals.
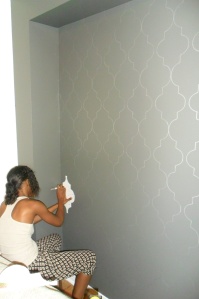
I worked outwards from the centre of the wall. - Then stand back and look at your masterpiece. Be ready to stare at it for days with a pleasant smile.


